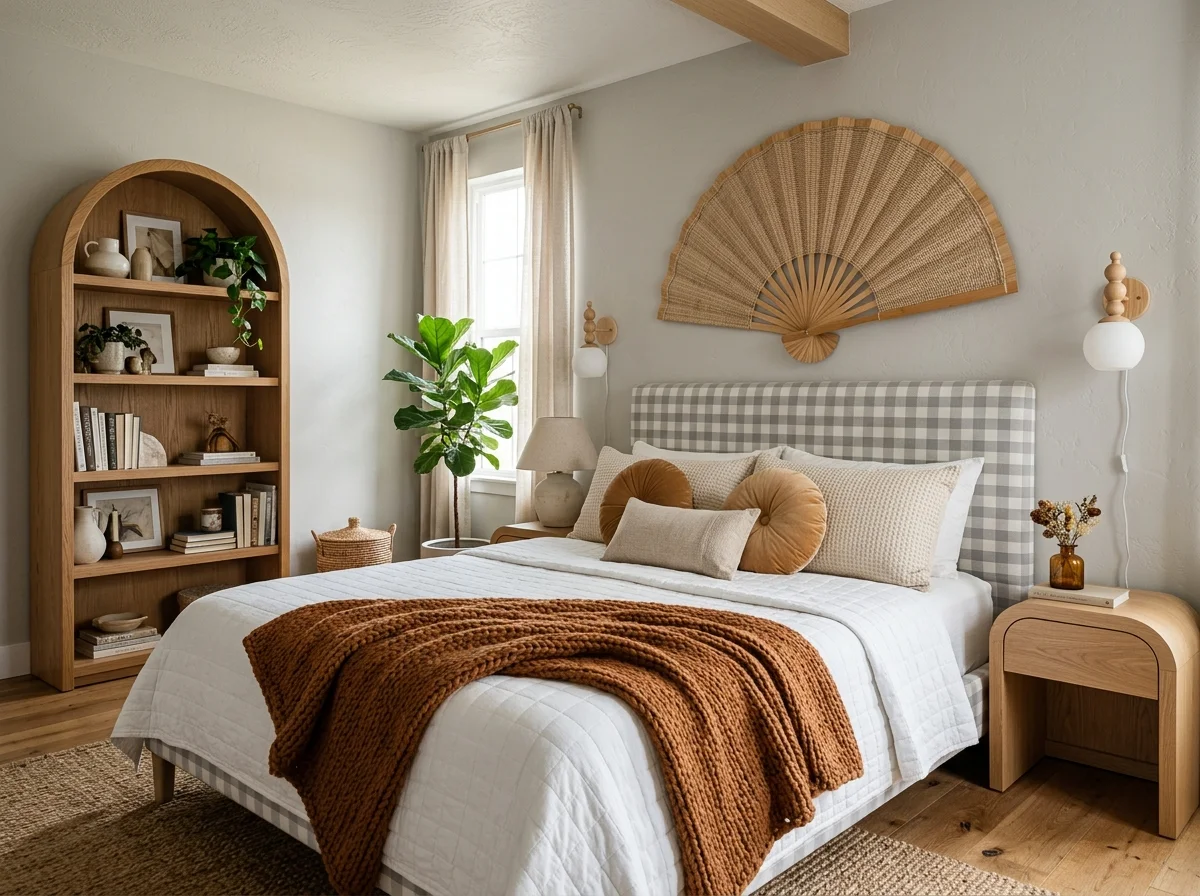
The headboard above my bed is plywood I cut myself, wrapped in oatmeal linen with cotton batting underneath, mounted to the wall with French cleats. It cost £92 in materials and one Saturday. The pillowcases on the bed are sewn from the same linen, £8 of fabric per case. The half-height panelling along one wall took two weekends. Nothing in the bedroom that looks expensive cost what it would have if I'd bought it.
A bedroom is a forgiving room for DIY because most of the cosy comes from textiles and one or two architectural moves. The bed itself is the focal point; everything orbits it. Six projects between them transform a bedroom from rented-feel to lived-in.
Pairs well with DIY Home Decor Handbook, Weekend DIY Projects for Home Decor That, and Cosy Bedroom Design.
A bedroom rewards a few weekend projects more than almost any room — the things you touch at the edges of sleep are worth making well. These thirteen DIY projects, from no-sew to a weekend's joinery, warm a bedroom for the cost of materials. Pick the ones that match your skills and your time.
1. Sew Simple Linen Pillowcases
Linen pillowcases are the easiest sewing project there is — straight seams, an envelope back, no fastenings — and a metre or two of good linen makes a pair for a fraction of buying them. It's the ideal first sewing project, and the result is the layer you touch every night. Start here and the rest of the bed follows.
2. Build an Upholstered Headboard
A plywood panel, foam, batting, and your chosen fabric stapled tight makes a generous upholstered headboard in an afternoon, for a fraction of a bought one — and in any fabric you like. Go taller than feels normal for the cocooning effect. It's the single highest-impact bedroom DIY, and it lets you match the headboard to the room exactly.
3. Make a No-Sew Roman Blind
A no-sew Roman blind kit, or fabric and iron-on hem tape with a simple cord mechanism, dresses a bedroom window in your chosen fabric for far less than made-to-measure. It handles the light and adds a soft layer. No sewing machine needed — hem tape and a kit turn a metre of linen into a fitted blind in an evening.
4. Float a Bedside Shelf
Where a nightstand won't fit or you want something lighter, a floating shelf beside the bed — a length of timber on concealed brackets — holds a lamp, a book, and a glass while keeping the floor clear. A beginner woodworking project: cut, sand, oil, mount. The visible floor underneath keeps a small bedroom feeling open.
5. Assemble a Fabric Wall Hanging
A large piece of beautiful fabric — a vintage textile, a length of block-print, a woven throw — hung flat above the bed makes a soft, warm focal point with no framing and no skill. Mount it on a dowel or a slim batten. It's the easiest way to fill the wall above a bed with colour, texture, and warmth.
6. Paint a Headboard Effect
No headboard, no problem: paint a headboard shape directly on the wall behind the bed — a soft arch, a rectangle, a half-height panel in a deeper tone. It frames the bed and adds colour for the price of a tester pot. A masking-tape outline and an afternoon give a renter-friendly, removable headboard effect.
7. Build a Simple Bench for the Foot
A basic wooden bench at the foot of the bed — a few lengths of timber, or an upcycled find topped with a cushion — gives somewhere to sit, somewhere for the throw, and visually finishes the bed. A beginner build or an upcycle, it's the piece that completes a bedroom and earns its place daily.
8. Make Lined Curtains
Sewing your own lined curtains — even with simple heading tape — gets you full, floor-length, thermal-lined panels in your chosen fabric for the cost of materials, where made-to-measure costs hundreds. The lining is the upgrade that makes them hang heavy and block light. A weekend project that transforms the room's largest soft surface.
9. Upcycle a Charity-Shop Nightstand
A tired charity-shop bedside table, painted a warm tone or in a deeper colour with new brass hardware, becomes a characterful nightstand for under £30 all in. Sand, prime, paint, swap the knob. Two mismatched upcycled nightstands read more collected than a matching bought pair, and cost a fraction.
10. Add Picture-Ledge Shelving
A slim picture ledge on the bedroom wall — a length of timber with a lip — lets you lean and rearrange framed photos, art, and small objects without committing to nail holes. An easy build, and the leaned-and-layered look reads relaxed. Swap the pieces whenever the mood changes; the ledge is the flexible bedroom display.
11. Build Backlighting Behind the Headboard
A warm LED strip mounted behind a headboard or a floating shelf above the bed throws a soft glow up the wall — a simple peel-and-stick job with a dimmer. It creates depth and the glare-free low light a bedroom wants at night. An hour's work for the kind of layered lighting that reads designed.
12. Sew a Simple Bed Runner or Throw
A length of wool or a hemmed panel of beautiful fabric makes a bed runner or throw for the foot of the bed — a single straight-seam project or even just a hemmed edge. It adds the finishing textile layer and a hit of colour or texture. The easiest way to make the layer that completes a dressed bed.
13. Match the Project to Your Skill
The key to DIY that looks handmade, not homemade: start with the no-sew and beginner projects (pillowcases, painted headboard, fabric hanging), build skills, then attempt the joinery and lined curtains. A simple project done well beats an ambitious one done badly. Choose the project that matches where your skills actually are today.
The Detailed Project Walkthroughs
The projects above are the menu; below, the same projects with step-by-step detail, materials lists, and the techniques that make the difference between a homemade look and a handmade one.
1. Sewing Linen Pillowcases
The single most useful DIY project for a bedroom. A pair of standard pillowcases in real linen costs £40-100 at retail. Sewing them yourself: £15-25 in fabric per pair.
The simplest pattern is an envelope-closure pillowcase — no zip, no buttons. For a standard 50x75cm pillow:
Cut: one piece 54x80cm for the front, two pieces 54x55cm for the back overlap.
Sew: hem one long edge of each back piece. Lay them on the front piece (right sides together) with hemmed edges overlapping 15cm in the middle. Sew around all four sides with 1cm seam allowance. Turn right-side-out.
Time per case: 30-45 minutes once you have the pattern down.
Materials: MagicLinen sells washed European linen by the metre for £18-25. One metre at 140cm wide makes two standard pillowcases or one euro pillowcase. IKEA Aina linen by the metre is cheaper (around £8-10) and works for a more textured, less smooth finish.
2. Building a Wall-Mounted Plywood Headboard
A wall-mounted upholstered headboard costs £400-1,500 ready-made. The DIY version under £150 produces the same visual effect.
Materials for a queen-size headboard (160cm wide × 110cm tall):
- 18mm birch plywood, 160x110cm — £45-70
- 2cm upholstery foam, 160x110cm — £30-50
- Linen or wool upholstery fabric, 2m — £40-100 depending on choice
- Cotton batting, 160x110cm — £15-25
- Staple gun and 8mm staples — £25-40 (one-time tool purchase)
- French cleat pair for mounting — £15-20
Process:
- Cut plywood to size at the timber merchant (most cut to size for £5-10).
- Lay foam on top of plywood. Cover with batting, then fabric.
- Pull fabric tight around the back of the plywood and staple to the back. Work from the centre of each side outward, then the corners last.
- Attach the French cleat to the back of the headboard (one half), and the matching half to the wall (find studs).
- Hang.
Total time: 4-6 hours of active work over one Saturday.
The result is a headboard that looks identical to a ready-made one, with the bonus that you chose the fabric.
3. Installing Half-Height Tongue-and-Groove Panelling
Behind the bed or along a feature wall, half-height tongue-and-groove panelling adds architectural interest. The DIY version uses pre-primed MDF panels.
Materials for a 3m wall at 1.2m height:
- Primed MDF T&G panels, 8 sheets — £70-100
- A 18mm-thick chair rail moulding at the top, 3m — £15-25
- Skirting board, 3m — £15-25
- Construction adhesive, finish nails, filler, primer, paint — £40-70
Process:
- Measure and mark the panelling height on the wall.
- Cut panels to height. Start from one corner with the tongue facing into the corner.
- Apply construction adhesive to the back, press to wall, finish nail through the tongue. Each panel slots into the previous.
- Install the chair rail as the top finishing strip.
- Install the skirting at the bottom.
- Fill nail holes, prime, paint.
Total time: a long weekend including paint drying.
Total cost: £150-220 in materials. Equivalent professional installation runs £400-700.
4. Painting the Bedroom Walls
A bedroom is the easiest room to paint — single colour, often plain walls, manageable square footage. The process:
- Choose paint colour first. Sample boards essential. See the paint at 7am, midday, and at lamp light before committing.
- Prep: remove everything from the walls, move furniture to the centre, drop cloths down.
- Cut in with a brush along edges, then roller the main surfaces.
- Two coats minimum. Allow 4 hours between coats for emulsion.
Recommended bedroom colours that DIY well:
- Farrow & Ball Setting Plaster — warm dusty pink, very forgiving
- Farrow & Ball Slipper Satin — warm cream
- Benjamin Moore White Dove — warm white that reads creamy
- Little Greene Slaked Lime — warm off-white
- Bauwerk Colour limewash (Clay, Mushroom, or Tobacco) — produces texture as well as colour
Cost: £80-150 for paint and materials. The time invested is one or two weekends.
5. Making Bedroom Wall Art
The wall above the bed or beside it benefits from real art rather than reproductions. Three DIY art projects work for bedrooms:
Cyanotype prints. As covered in the DIY handbook. Botanical cyanotypes (leaves, flowers, ferns from your garden) suit bedrooms particularly. A series of 3-5 cyanotypes framed in matching frames creates a gallery.
Photographs you've taken. A black-and-white landscape, a still-life detail, a film photograph from a trip. Print at 30x40cm or larger from a professional photo lab (Loxley Colour, Saal Digital — £20-40 per print). Frame in a simple wooden or black metal frame.
Hand-cut paper collage. Coloured paper, scissors, glue. A single abstract collage in a high-quality frame reads as contemporary art at a fraction of the gallery cost.
Cost per piece: £30-80 framed.
6. Refinishing a Thrifted Bedside Table
A thrifted mid-century or vintage bedside table from a charity shop or auction (£30-100) becomes a £200-400 piece with refinishing.
Process:
- Remove any existing hardware.
- Strip old varnish or lacquer with chemical stripper or by sanding.
- Sand progressively from 80 grit to 220 grit. Wipe with a tack cloth.
- Apply hard wax oil (Osmo, Saicos, or Fiddes) in thin coats. Two coats minimum, sometimes three.
- Allow 24 hours between coats.
- Replace hardware with new brass pulls or knobs.
Total cost: £45-90 in materials for a single piece. Total time across one weekend.
The bedroom DIY projects that earn their weekend are concentrated near the bed itself — the headboard, the pillowcases, the panelling behind it. The bed is the focal point; the room orbits it.
Putting It Together: One Weekend, Three Projects
A productive bedroom DIY weekend, with multiple projects running in parallel:
Saturday morning: Start the refinishing project on the bedside table. Strip and sand. Apply first oil coat at the end of the morning.
Saturday afternoon: Start the headboard. Cut plywood (already cut at the merchant), apply foam and fabric, staple. Mount with French cleats by late afternoon.
Saturday evening: Sew two or three linen pillowcases. The sewing machine doesn't need much space.
Sunday morning: Apply second oil coat to the bedside table.
Sunday afternoon: Hang the framed art that you've assembled. Photograph the room for posterity.
End-of-weekend result: new headboard, refinished bedside table, new pillowcases, new gallery wall. The whole bedroom reads transformed.